Open Data KIT tutorial and install with Postgres DB
Open Data Kit (ODK) is a free opensource java applications tool for data capturing and aggregating data and storing it in a server. The use of ODK is for digital surveys instead of the physical paper survey.
Before ODK was introduced, manual surveys have a long process to implement.
The physical paper survey involves deciding the questions on the paper survey form, Collecting the survey data, and finally aggregating survey data results.
Advantages of ODK
- Provides Java server for collecting data
- Provides Mobile
- Eliminate paper surveys and make a digital survey.
ODK modules
Odk is not a single tool but it has different following modules.
- ODK Form
- ODK Collect
- ODK Aggregate
ODK installation on amazon web services
First, generate a war file using the odk aggregate pack on windows.
the following are required to setup ODK on windows
- Java installation
- ODK aggregate package
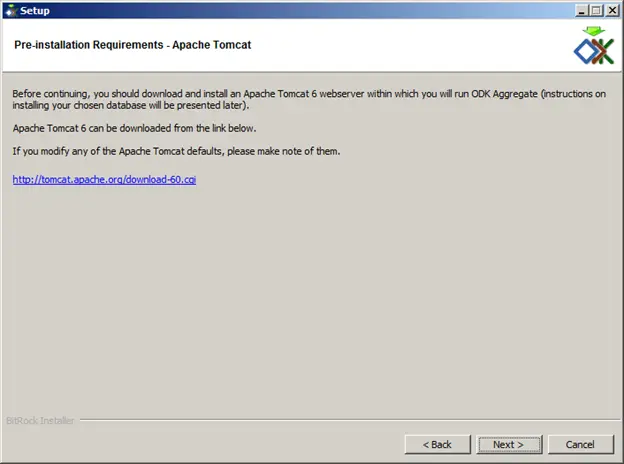
- Tomcat
- Postgres
Download ODK package
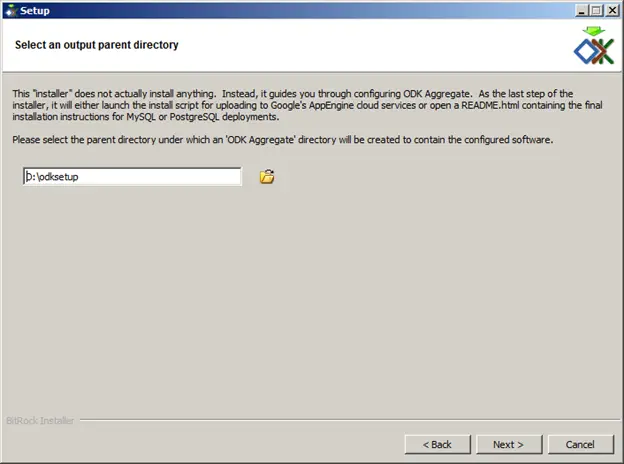
Go to the official opendatakit website and download ODK package for the corresponding operating system. Downloaded ODK Aggregate v1.4.3 windows-installer.exe and click on it to follow the steps.
The above screenshot explains the folder where the odk application is. war is deployed
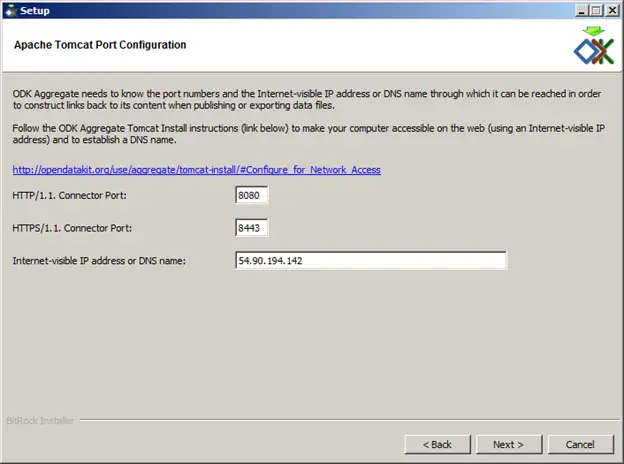
The above IP address is to provide Amazon public IP address
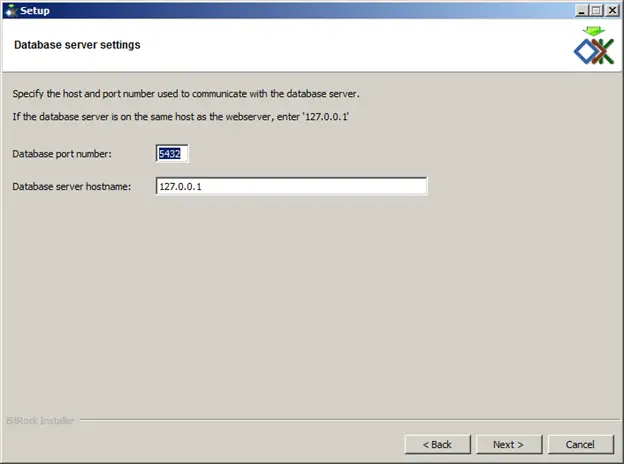
This IP address is the location of an instance where Postgres is installed. ODK and Postgres are installed on the same machine, so providing 127.0.0.1 as a Postgres instance
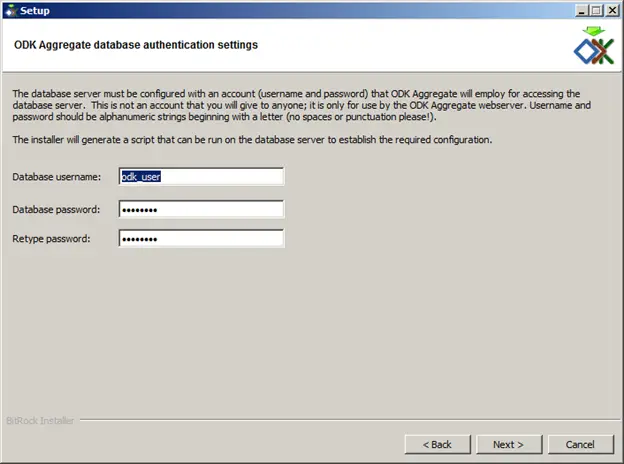
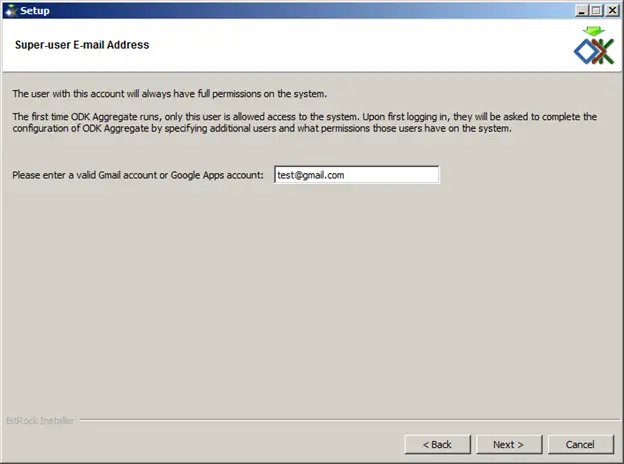
This screen talks about the odk application database and user details information.

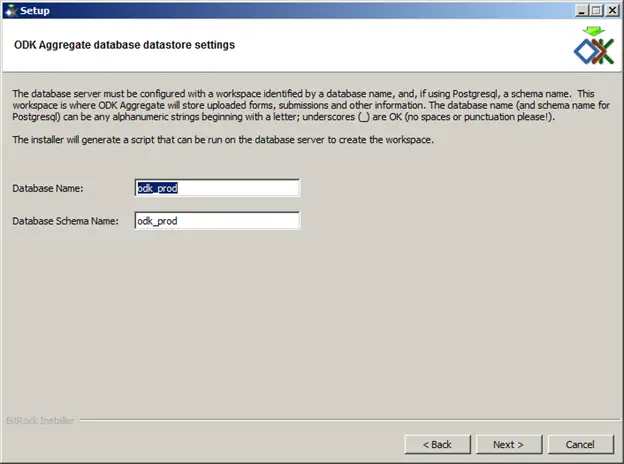
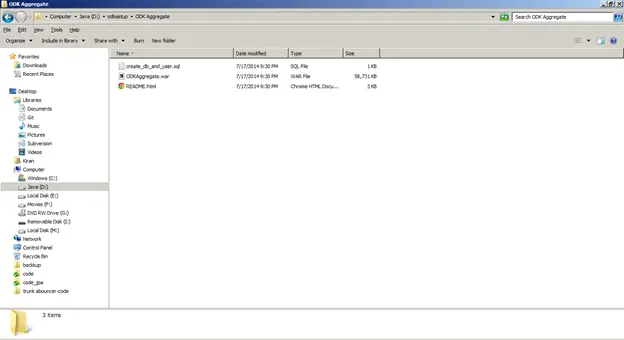
The above setup creates the following files as per the below screenshots.
create_db_and_user.sql :- This is SQL script for creating database odk_prod , user :- odk_user, password: odk_user and granting all privileges for odk_user
ODKAggregate.war:- This is an odk aggregate application that needs to deploy in the tomcat server.
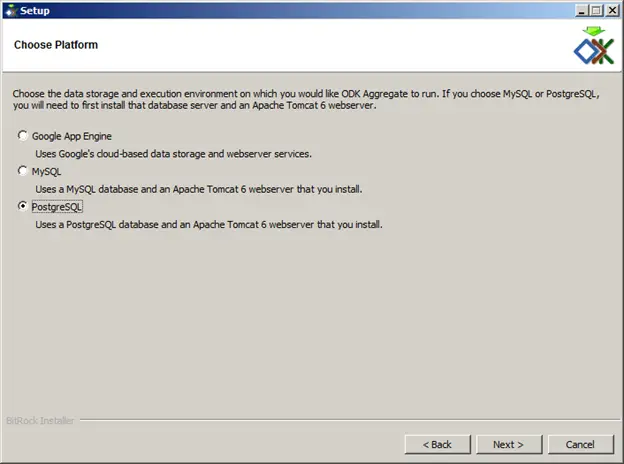
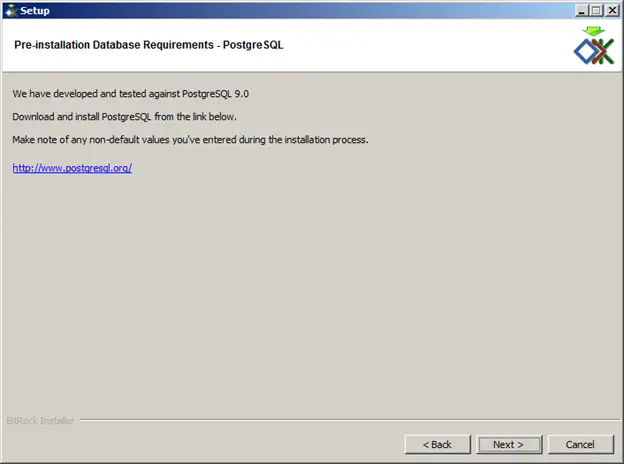
Postgres Installation:
Please install Postgres. Once Postgres is installed, please follow the below steps to create an odk database, of users.
Execute the Postgres SQL shell (psql) command-line client using the Postgres username and password (the password you chose during the installation of the database), and supply the create_db_and_user.SQL to it. To open the psql command-line client, open a cmd window (Windows), terminal window (macOS), or terminal window (Linux), and ‘cd’ to the directory containing the psql client (psql.exe on Windows). Then, please type:
psql —username Postgres
And enter the PostgreSQL server password. You will then be within the psql command-line client. You should see a ‘postgres=#’ prompt. Type:
\cd D:/odksetup/ODKAGG~1
\i create_db_and_user.sql
\q
Here is what this looks like on Windows, with what you must type in red:
Microsoft Windows [Version 6.1.7600]
Copyright (c) 2009 Microsoft Corporation. All rights reserved.
C:\Windows\System32>cd “\Program Files\PostgreSQL\9.0\bin”
C:\Program Files\PostgreSQL\9.0\bin>psql.exe —username postgres
Password for user postgres:*******
psql (9.0.4)
WARNING: Console code page (437) differs from Windows code page (1252)
8-bit characters might no work correctly. See psql reference
page “Notes for Windows users” for details.
Type “help” for help.
postgres=# \cd D:/odksetup/ODKAGG~1
postgres=# \i create_db_and_user.SQL
CREATE DATABASE
CREATE ROLE
GRANT
ALTER DATABASE
WARNING: Console code page (437) differs from Windows code page (1252)
8-bit characters might no work correctly. See psql reference
page “Notes for Windows users” for details.
You are now connected to the database “odk_prod”.
CREATE SCHEMA
GRANT
odk_prod=# \q
C:\Program Files\PostgreSQL\9.0\bin>
The next step is to install java and tomcat. once installed deploy the war to tomcat
Odk application deploy to tomcat
copy the ODKAggregate.war to the /var/lib/tomcat6/webapps/ODKAggregate directory of the Apache Tomcat installation.
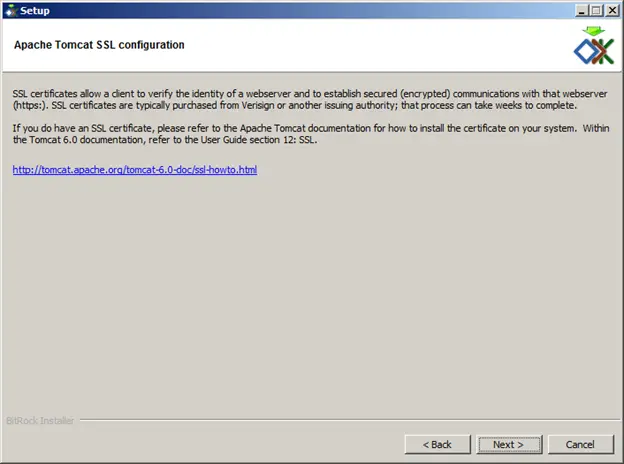
Please generate the certificate using the following command
sudo keytool -genkey -alias admin -keypass adminpass -Keystore certificate.jks -storepass adminpass
The above command generates a certificate. jks in the current folder. Please copy the certificate.jks file to /var/lib/tomcat6/conf and add/modify below entries in /var/lib/tomcat6/conf/server.xml.
<?xml version="1.0" encoding="UTF-8"?>
<Connector port="8443" protocol="HTTP/1.1" SSLEnabled="true"
maxThreads="150" scheme="https" secure="true" clientAuth="false"
sslProtocol="TLS" keystoreFile="conf/certificate.jks"
keystorePass="adminpass" > </Connector>
8443 is the SSL port for tomcat and 8080 is for normal HTTP request The next step is to start Apache Tomcat server(if not already started)
visit http://ipaddress:8080/ODKAggregate and go to the Management / Permissions tab to complete configuring the access rights for ODK Aggregate.